Search
Complete Guide to Building Your Brewery

$19.95 USD

Support our site by using these affiliate links
Control Panel (Part 1)
STEP 6: Prime and paint
 You may skip this step if building from one of our control panel kits as the custom enclosure we include has already been professionally powder coated with an industrial flat textured charcoal/black finish.
The enclosure as shipped comes both internally and externally protected with polyester epoxy resin texturized grey paint (RAL-7032). It may be protected but it's pretty boring to look at. Time to spruce it up a bit!
File down any rough edges and lightly sand the outside of the enclosure.
We primed with Tremclad primer and then painted the enclosure with Tremclad Rust-Oleum charcoal coloured hammered metal finish spray paint to give the box a metallic look. Feel free to use any colour you like of course.
This spray paint is intended for use on outdoor equipment and furniture so it's tough and built to take abuse.
This is the same type (but different colour) spray paint we used on our heating element boxes.
Tremclad general purpose grey enamel primer and charcoal Rust-Oleum hammered metal finish spray paint:
Enclosure primed:
The metal parts of the lock mechanism were taped up and the plastic parts primed as well: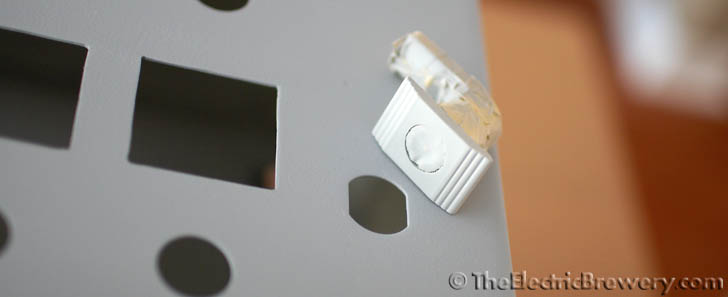
The special Tremclad Rust-Oleum hammered metal finish gives the control panel a metallic look that is very durable:
Enclosure painted and ready for parts:
Time to mount the external components to the enclosure! This includes all the parts that install to the panel door such as the switches, lights, meters, PID controllers, and so on. On the bottom of the enclosure we install our receptacles.


