Search
Complete Guide to Building Your Brewery

$19.95 USD

Support our site by using these affiliate links
Heating Elements
STEP 6: Electrical connections
Time to attach cables to the heating elements so that we can actually plug them in!
The first step is choosing the wire to use for our setup. Electrical wire is rated for current and voltage. The larger the diameter the wire, the more current it can carry, so to figure out the wire size (called 'gauge') we only need to need to know how much current the wire will be carrying. Figuring our current is simple using Ohms law as we know the elements are 5500W and that they use 240 volts AC:
Current = Power / Voltage = 5500 watts / 240 VAC = 22.9 Amps
Our elements will draw 22.9 Amps. The proper size electrical wire for 22.9 amps is 10 gauge or lower (i.e. bigger) as (generally speaking) 10 gauge wire is used in circuits that carry up to 30 amps in household use. The voltage rating of the wire should be 240V or higher. 300V and 600V are common ratings found on electrical wiring. This is the sort of wiring you'd see used on a household clothes dryer as dryers use 240 VAC / 30 Amp outlets.
We use a 10 gauge wire with 3 separate conductors, called "10/3" wire: Two conductor carry each of the 120 VAC "hot" lines to produce the 240 VAC the element uses, while the third will be used as a ground. It's important that everything be grounded for safety reasons: Having the kettle grounded ensures that the current will pass to ground immediately and trip your circuit breaker or fuse instead of passing somewhere else (like through the person brewing!) if one of the hot lines was to be become disconnected and touch a kettle.
 Look for cables that are oil/water resistant with a rubber coating and rated for outdoor use. Use whatever length is needed between the kettle and the control panel. 10 feet is fairly common but don't be afraid to use a bit more, just in case. The last thing you want is a cable that's too short.
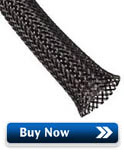
We wrapped the wire in 1/2" expandable braided sleeving and used about 6" of 3/4" heat shrink tubing at the plug ends to help ensure that the braided sleeving did not fray. While not required, it gives the wire a nice finished look and helps protect it.
Slide the expandable sleeving on first followed by the shrink wrap tubing. Apply heat using a heat gun to shrink the tubing.
Carol brand 10/3 wire rated for 300V. CSA / UL approved and water resistant:
We wrapped the 10/3 wire in 1/2" diameter carbon/black colour expandable braided sleeve.
The last six inches are wrapped in 3/4" heat shrink tubing to keep the expandable sleeve in place:
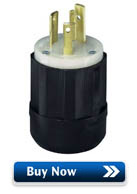 There are many options available for the electrical plug. We chose to use turn-lock or 'locking' plugs as they plug in like any normal plug but then are turned slightly to lock them in place to prevent accidental disconnection.
Just like the electrical wire, we need to use 3-prong plugs rated for both 30 Amps and 300V at an absolute minimum in our setup with 5500W/240VAC elements.
The most common NEMA style plug that meets our requirements is called a NEMA "L6-30" plug, rated for 250 VAC and 30 Amps.
(The observant reader will note that we actually used NEMA L9-30 plugs (rated 600 VAC instead of 250 VAC) as these higher voltage plugs were more readily available at the time we assembled our brewery. You may always use a plug or connector rated higher in voltage or current than required).
The GREEN ground wire is connected to the ground blade, while the black and white (hot wires) are connected to the other two blades. Normally in AC circuits BLACK signifies a hot wire while WHITE is NEUTRAL, but in our setup both BLACK and WHITE are used as 120 VAC hot wires so the orientation of BLACK and WHITE does not matter here.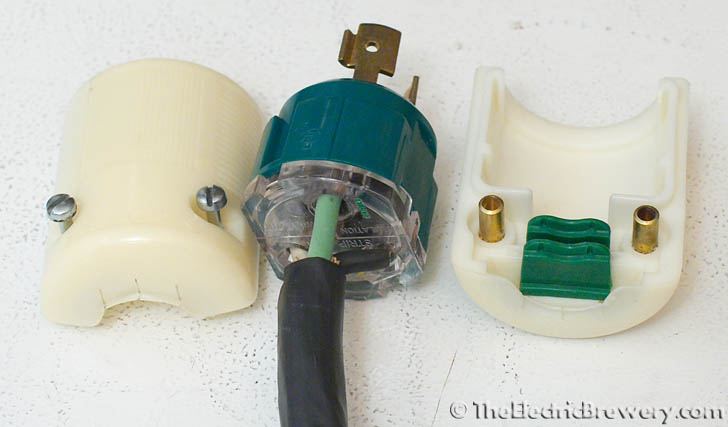
Make sure your wire is held tightly by the plug crimp/strain relief (the green tab at the right side of the above photo). Many plugs have reversible strain reliefs depending on the size of the wire used so make sure to check the documentation. The cord should be held in place tightly by the plug such that strain isn't placed on the wire screw connectors.
The finished wire with plug, heat shrink tubing, and expandable sleeving installed: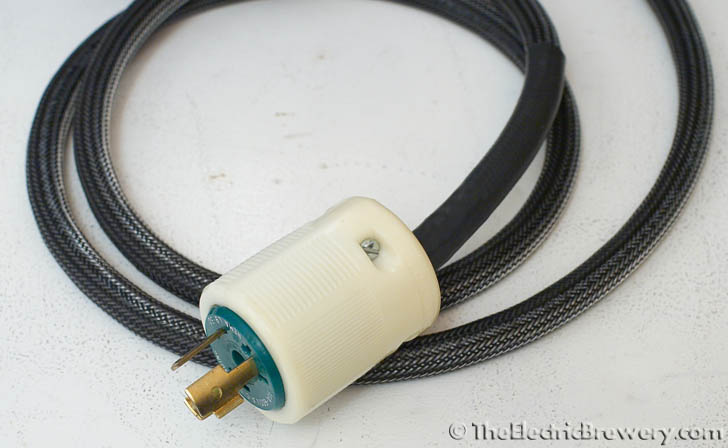
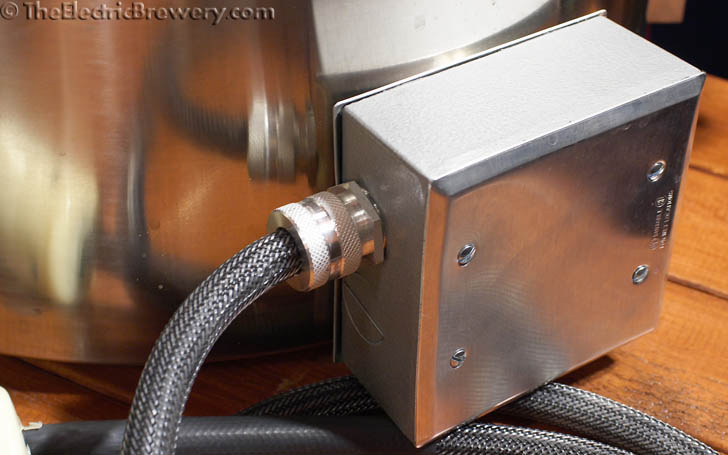
The other end of the wire is going to connect to the electrical box attached to the element in the kettle. To avoid the expandable sleeving from fraying we wrapped the last few inches of it with electrical tape. Leave enough room for the three conductors to move inside the electrical box: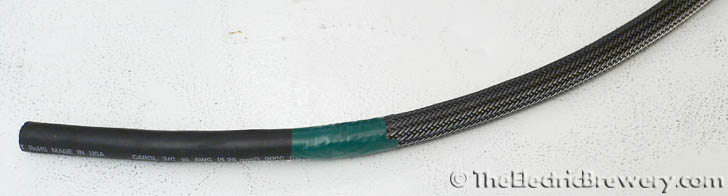
We use a 3/4" NPT cord/wire grip to hold the wire in place at the outlet box.
The grip holds the wire firmly in place and stops the wire from moving.
Once the grip cover is screwed on the rubber seal creates a water resistant seal from the outside: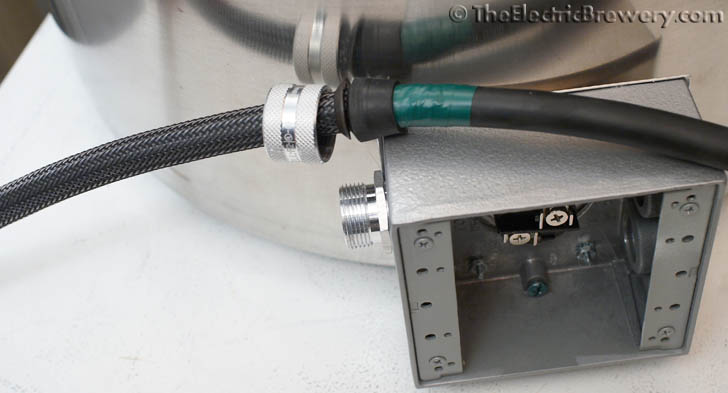
Before tightening the grip cover make sure you have enough free wire to connect to the two element screws and the outlet box ground screw: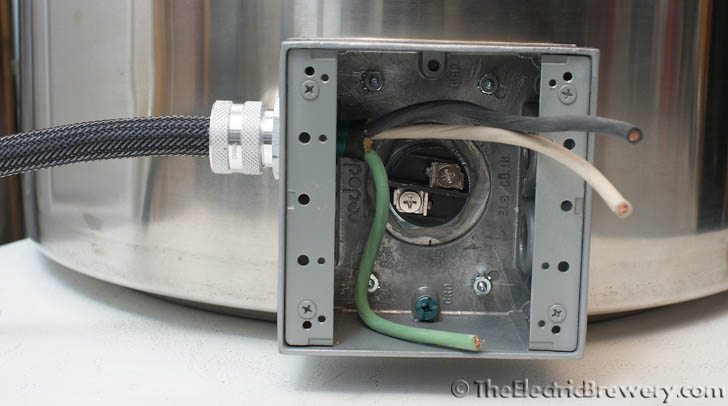
We use 10 AWG ring compression terminals to connect all 3 conductors: The BLACK and WHITE hot wires connect to the element screws (the orientation does not matter), while the GREEN ground wire connects to the electrical box. The picture below shows two of the three wires connected: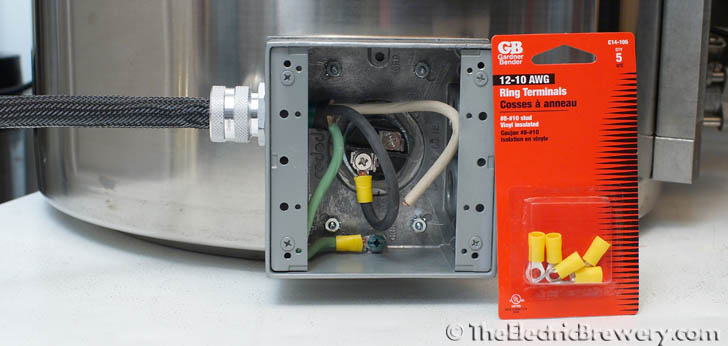
If you have a multimeter handy you can do a safety check of the ground: Measure the continuity between the stainless kettle and the ground spade on the electrical plug. It should measure as a short (close to zero ohms). Proof that your kettle will be properly grounded.
Install the electrical box cover. Making sure to use the included foam gasket to create a water resistant seal:
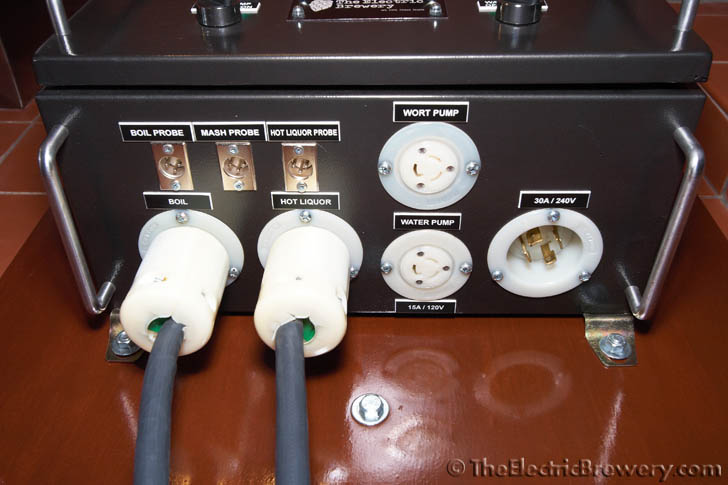
The locking plugs connect to the receptacles labelled BOIL and HOT LIQUOR on our control panel:
That's it! Enjoy your new weldless, safe, and water resistant electrical Blichmann Boilermaker kettles.
Continue on to Building Your Brewery - Temperature Probes.


